How to take a screenshot on Mac or Windows 10

What is a screen shot?
In today’s digital times, taking a screen shot has never been a more needed and crucial tool. Whether you are a creative using screen shot’s to create beautifully intricate mockups, or using the tool to capture parts or the entirety of your screen to make sure you don’t lose the information on screen, this tool key for everyone.
In this article we’ll highlight the many different ways to screen shot your screen across Macs and Windows.
How to take a screen shot on a Mac
If you’re using a MacBook Pro, Air, iMac or any older Mac model, you have two options for taking a screen shot.
- Full screen shot capture:
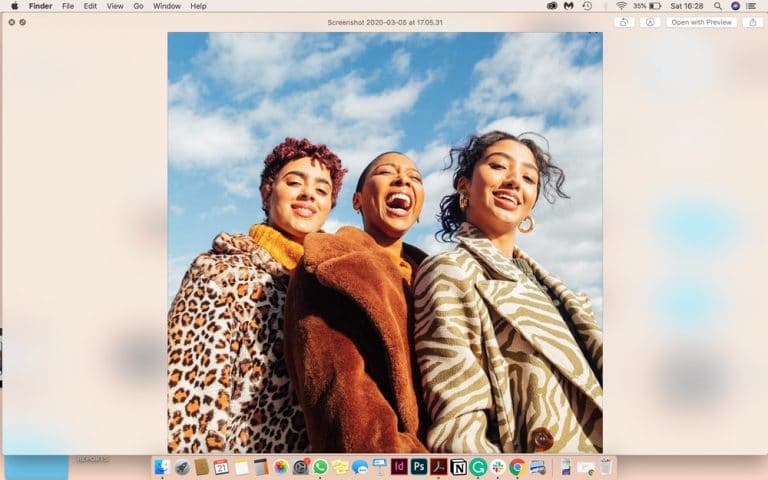
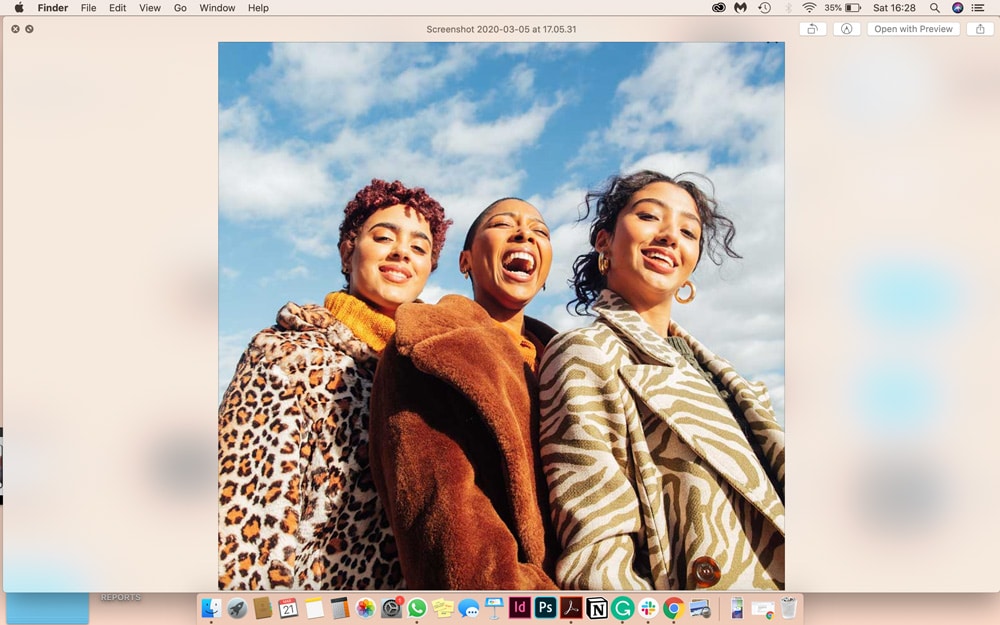
For this you simply need to hold down the Command key, Shift and the number 3 all together. Your screen shot will be immediately created and added to your Desktop.
- A portion of the screen:
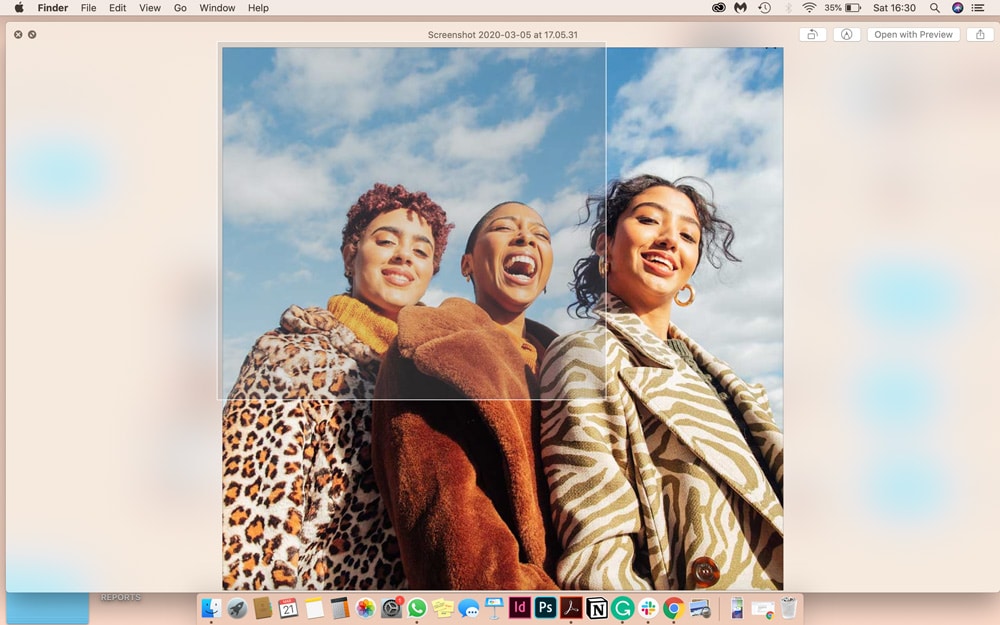
If you don’t want to take a screen shot of your entire screen, which is often the case, you are able to take a screen shot of a selected part of the screen. For this you will need to hold down the Command key, Shift and the number 4. At this point your cursor (or mouse) will turn into a selection tool and to screen shot simply select a corner of your desired area, left click on the cursor and drag to your liking. Once released, your screen shot will be captured and saved to your Desktop.
Your screen shot will always be saved under the file name ‘screenshot day month year’.


How to take a screen shot on Windows 10
Just last year, Windows 10 changed the ways you can screen shot the screen, and therefore here is a simple and to the point step by step guide to get back on that screen shotin’ vibe.
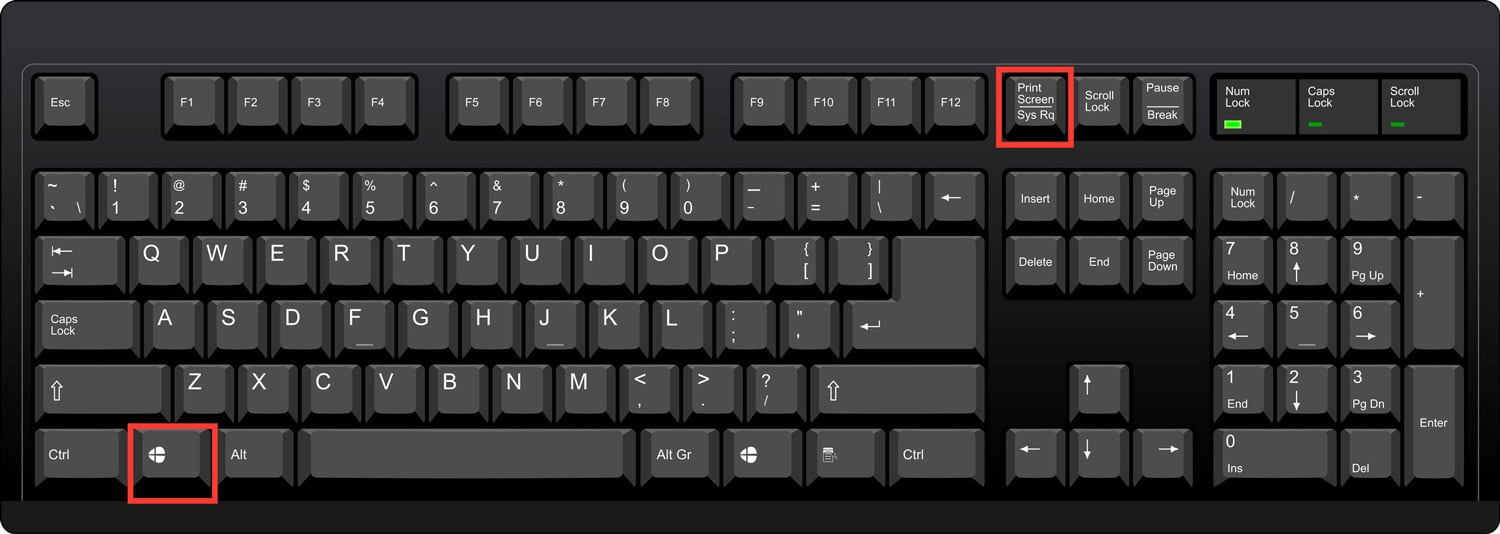
Using the Print Screen button on your keyboard, which will be labelled ‘PrtScn’, ‘PrntScrn’ or ‘Print Scr’, you will be able to take screen shots of your screen and you have several options: to save to your computer, not save to the computer and take a screen shot of a selected area of the screen only.
If you’re struggling to find the Print Screen button, it is usually sitting next to F12 and the Scroll Lock buttons. On laptop keyboards, you may have to press the ‘Function’ or ‘Fn’ key to access the Print Screen feature. When you press the key, it will look like nothing happened, but the screenshot has been saved to your clipboard.

More about Screen Shot
P.s. while you’re here, enjoying the insightful guide written by our editorial team on how to screen shot your screen, why don’t you browse our daily content on new gen technology, politics, culture and also politics?
We say those who read Screen Shot stay ahead of the curve. And we mean it.


