How to take a screenshot on Windows

If you, like us, take daily screenshots of products while online shopping because you don’t want to keep those screen tabs open at work (you’re meant to be working, not shopping), or even if the website you’re on doesn’t allow you to save articles ‘to read later’, sometimes a screenshot will help you remember to go back to these things. Usage of screenshots aside, they have proven to be a highly demanded function in tech today. For those of you rebels out there that use Windows, here’s how you take a screenshot!
How to take a screenshot on Windows
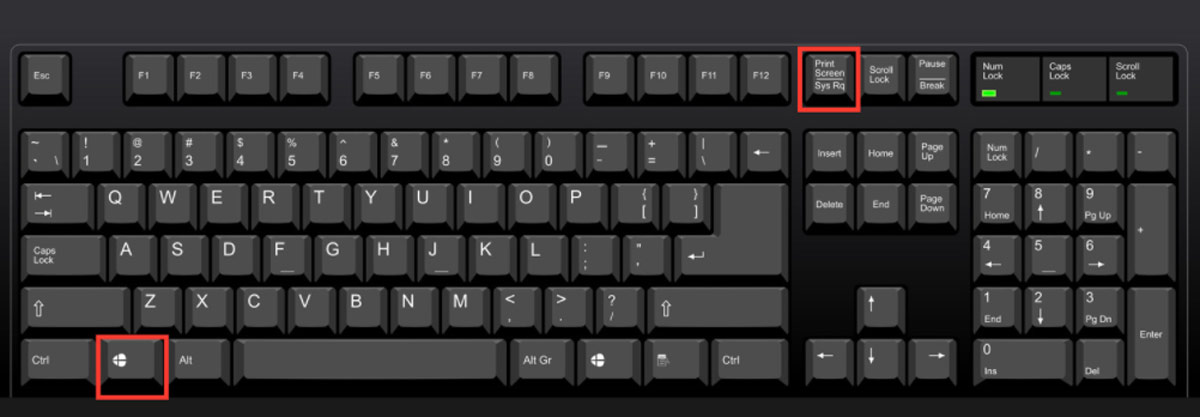
Taking a screenshot is a way to capture your whole or just a part of your computer (or phone) screen, but not all devices that we get to choose from function in uniform. The most simple way to take a screenshot in Windows is to use the Print Screen button, which is located on the upper right hand side of most keyboards, usually near the F12 and the Scroll Lock button (it will be labelled as PrtScn, PrntScrn or Print Scr).

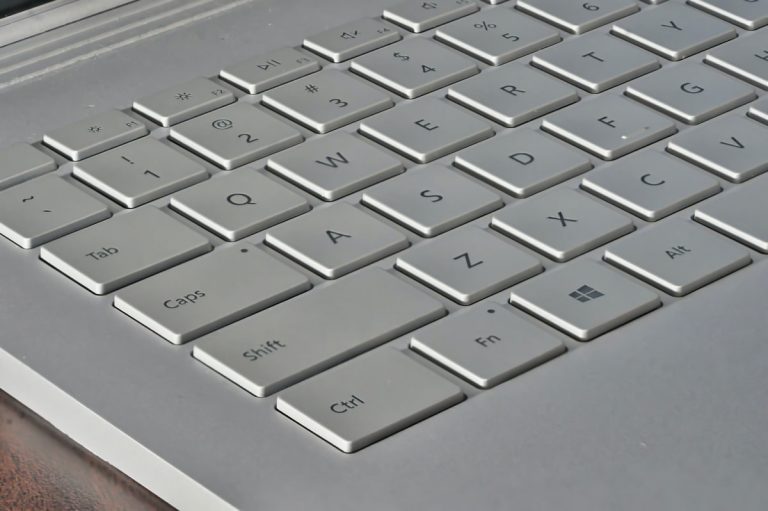
If you’re on a laptop keyboard, you may need to press the ‘Function’ or ‘Fn’ key to access the Print Screen feature, but when you find it and tap it, Windows will have copied an image of your entire screen to the ‘clipboard’ (sometimes called the space buffer, it is a short-term storage and transfer within and between application programmes) then you will have to paste it into a program, such as a Word document or an image editing program. You paste it by hitting Ctrl+V together at the same time.
One of the main problems with this method is that you don’t have full control over what part of your screen is screenshotted, so for example if you have a multi monitor setup, the Print Screen button will copy all of the displays as it understands that they are all one screen. However, to combat this, you can narrow it down to just one screen and the window you have opened by pressing the Alt+Print Screen buttons together, and then pasting as we said before.

The snipping tool in Windows
Thankfully Windows doesn’t just rely on one way of taking a screenshot, it has a few different built in tools that also give you more of a precise control over your intended screenshot. One of these tools is called the Snipping Tool, which can be found in the Start menu.
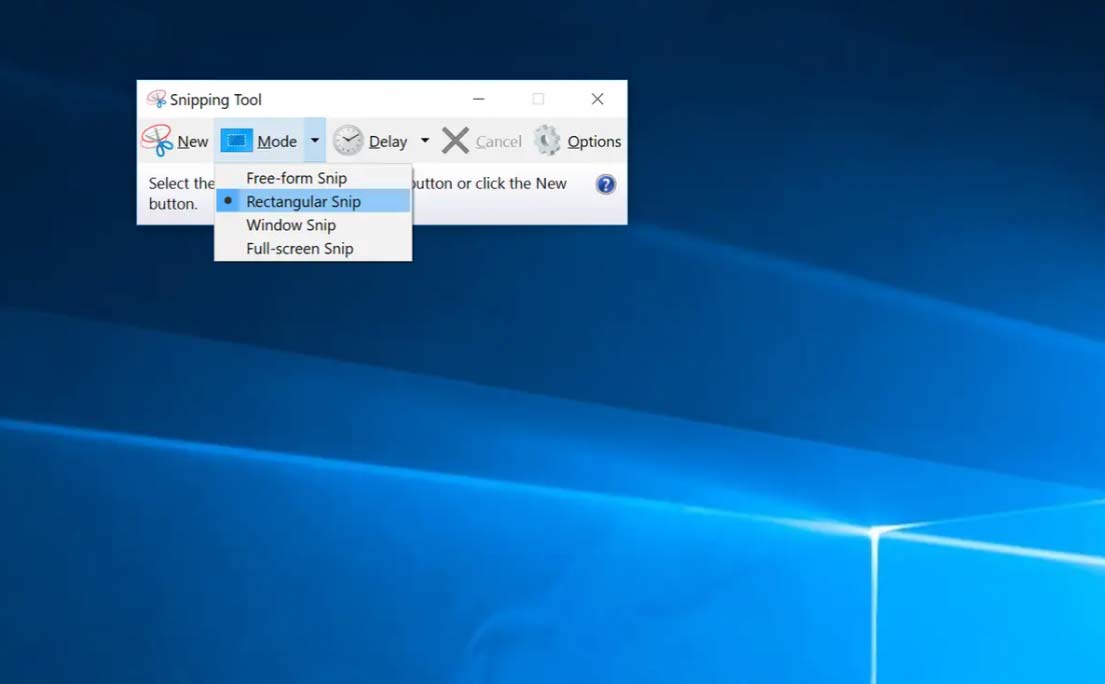
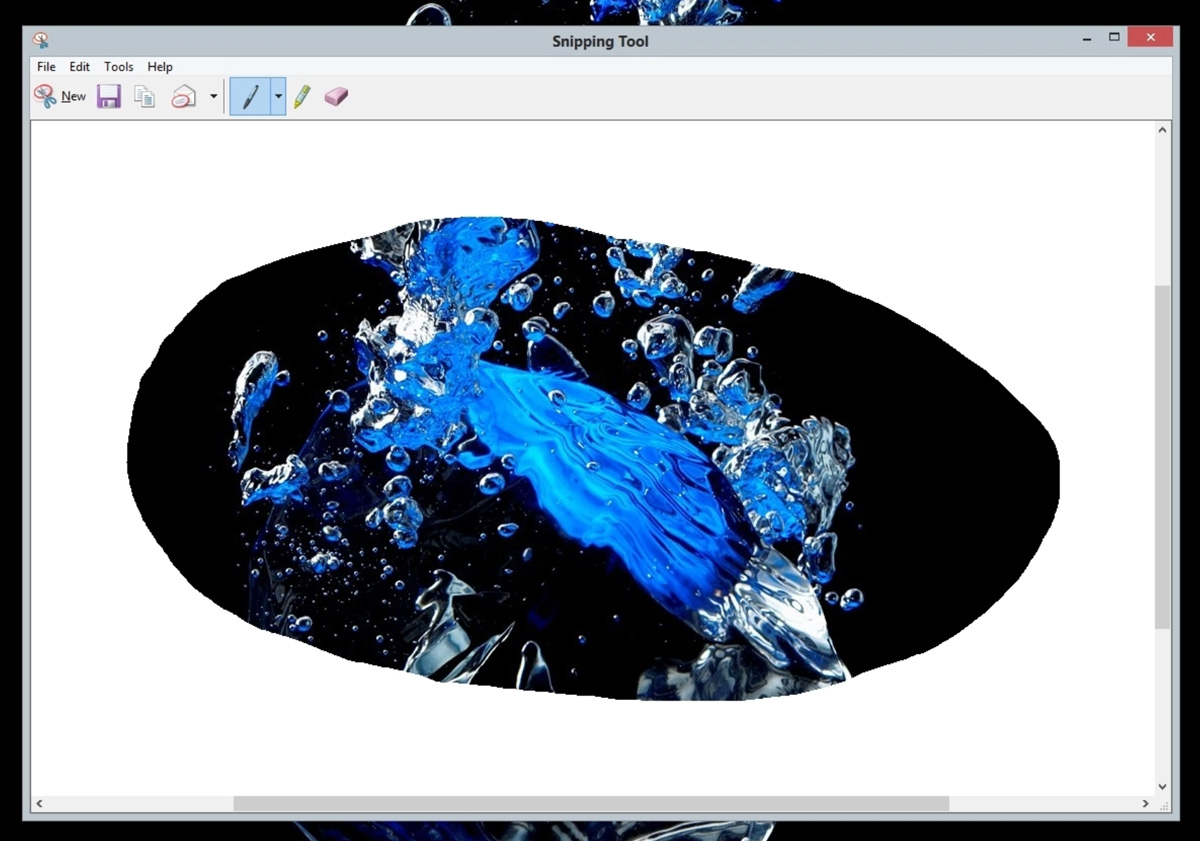
The Snipping tool also has its own editor where you will find your screenshot, and where it may be edited according to what you want. When you find and select the Snipping tool in your Start menu, you will be provided with a small toolbar that gives you the options to capture different types of screenshots.
For example, you can screenshot only one area you want with a rectangular selection tool, or you can select a specific window that you have open to capture, or simply capture your entire screen. When you have taken a screenshot, it is automatically moved to the Snipping Tool editor where you can either save or edit your screenshot.

Screenshots using Snip & Sketch in Windows
The Snip & Sketch option was introduced to Windows in 2019. It is expected to eventually replace the Snipping Tool we spoke of previously, but for now it remains the primary screenshot method of Windows 10 users. Windows 7 won’t have use of this, in which case they rely solely on the Snipping Tool.
To use it, you press the Shift+Windows+S keyboard combination. This will launch a small toolbar at the top of your screen where you will then be able to choose what you want to capture as a screenshot, with much more control than the methods previously mentioned. You have a choice of capturing your full screen, a rectangular selection, an individual programme window but also a freehand selection, which is essentially any shape of screenshot you want it to be.
The shortcut to using this is accessed via the Action Centre’s Screen snip button, when pressed, you will see a small thumbnail panel notification that will briefly say ‘Snip Saved to Clipboard’. If you tap this notification, it will automatically open up the Snip & Sketch window, where you can mark up the image with a (digital) pen, pencil, highlighter, eraser, ruler or cropping tool. Then you simply save your screenshot where you want to on your computer, or share it using the Windows Share menu.
Screenshots using Snagit in Windows
If you’re an advanced screenshotter and want to put some money into it, this program seems to be the best bet. Snagit is a screenshotting program that captures video display and audio output, it lets you quickly capture a process, add your explanation, and create visual instructions by including advanced tools like video and scrolling window screenshot tools, drawing tools and brightness editing processors as well as allows you to overlay text and borders, amongst other things. However, it’ll cost you $49.95.
Free Screenshots plug-ins on Web Browsers
If you want to use your Web Browser to take your screenshots, that’s also an option. Here are a few plug-ins available for you to install.
Lightshot is a free plug-in that works on both Chrome and Firefox, and it works on Windows too. Also with Chrome and Firefox extensions, Nimbus Screen Screenshot is also free and allows you to capture the whole screen as well as parts of it, you can use it to draw, make annotations or mark up the screenshots. If you’re wanting a screenshotting plug-in that facilitates quick sharing (using slack, Trello, Asana etc) Awesome Screenshot is a free program that can annotate or blur out bits of screenshots, and it can also record both your screen and camera if you need to explain something to a colleague, with extensions on Chrome and Firefox too.


