Introducing knotless braids, the low-tension alternative to traditional box braids


Box braids have been treasured by women of colour for eons. The intricate hairstyle is also a fan favourite, given its versatility, ease of maintenance and extreme time-saving abilities. While the style braids one’s hair away from daily manipulation, breakage and split ends, it also comes with a list of downsides—including tension on the scalp and hair follicles. Reimagining this traditional hairstyle is now a healthier alternative, already placed on the podium by Google’s Year in Search 2020.
What are knotless braids?
Also known as feed-in braids, knotless braids are the knotless variation of traditional box braids. The style borrows box-like partitions from its traditional counterpart but eliminates the knot that is usually formed at the beginning of each braid while inserting hair extensions. The hairstyle uses a feed-in technique instead—where braids are started off with one’s natural hair and infused with extensions along the way.
View this post on Instagram
By adding small amounts of extensions instead of chunky pieces all at once for thickness and length, knotless braids essentially ease the tension traditional box braids place on the scalp and hairline. The technique, if done correctly, can help prevent traction alopecia—a common form of hair loss among women who have tight braids with large knots installed.
This results in sleeker braids instead of bulky ones, making it more versatile than other hairstyles. The braids are thereby more flexible and easy to manipulate while styling them into ponytails or buns. In terms of its longevity, a finished style can last up to three months. This timeframe, however, depends on your hair growth, texture and care routine. The thickness and length of your braids are yet another factor.
For those with coarse hair textures and tighter curls, knotless braids can hold out for two to three months. For those with silkier texture and looser curls, on the other hand, they may not last as long. The risks of the hair separating from the synthetic braiding hair is higher, and in some cases, the look may only hold up for about four to six weeks. Knotless braids also take about five to nine hours to perfect at a professional hair salon, with appointments ranging between $300 to $600—depending on the length and thickness you want to go for.
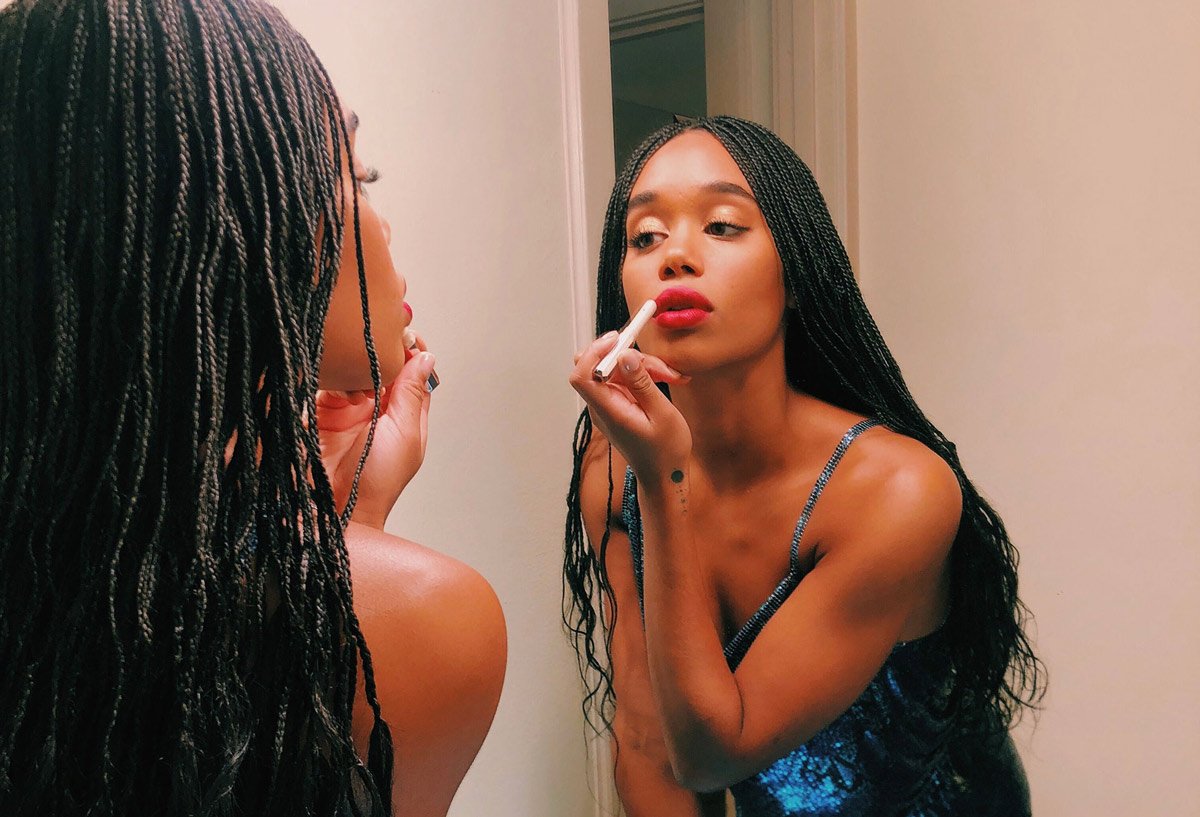
The comfort, however, outweighs the time commitment when it comes to its popularity. Knotless braids have witnessed a 150 per cent increase in searches on Pinterest. It has also been adopted by A-listers including Beyonce, Yara Shahidi, Gabrielle Union and Laura Harrier. With 396 million views and counting on #knotlessbraids, need I say more about TikTok’s enthusiastic nod towards the healthier alternative? Users gathered at the hashtag are seen giving styling and self-care tips along with detailed tutorials and colour suggestions to back them up.
Prep, style and repeat
With all that information out in the open, you may be wondering—just like I did at 3 a.m. on the night I stumbled across the hairstyle—is it possible to DIY? Contrary to the millions of videos on TikTok and YouTube, it is highly recommended to leave knotless braids to a professional braider. One who doesn’t channel the skill when the clock strikes 12 in a dimly-lit dorm bathroom, you hear me? You have to nail the technique in order for the hairstyle to fulfill its purpose.
A professional can not only tailor the measurements of box-like partitions to your crown, but also ensure that the braids avoid direct tension on your scalp. In the long run, the pros are going to save your piggy banks from drainage and your hair from breakage.
That being said, there are certain steps you can take to prep your hair before your appointment. Doctor Kari Williams, a licensed cosmetologist and board-certified trichologist, recommends a thorough cleanse and deep condition before installing the braids. This helps the style do what you’re hoping for: protect and promote hair growth. “When choosing to wear long-term styles like knotless braids, it’s best if the hair is in its most optimum condition,” she said in an interview with Byrdie.
A deep conditioner may already be a part of your hair care routine, but it’s essential to keep a few ingredients in mind for the next time you’re stocking up. Look out for shea butter, avocado and aloe-based products. They are all excellent sources of moisture and nutrients your hair will thank you for when you’re ready to remove your braids.
View this post on Instagram
While protective hairstyles are meant to make your life easier, it’s not an excuse to neglect hair care routine altogether. The upkeep process is as important as the prep, if not even more. One of the major benefits of knotless braids is that your scalp is accessible. You can cleanse or spot-treat your scalp much easier than with traditional box braids.
Once you have got the coveted hairstyle installed, make sure to wipe them down with a natural cleanser such as apple cider vinegar once in a while. This helps keep your braids fresh and your scalp healthy. You can also treat your roots to a clarifying spray and slick down any frizz with a lightweight gel or mousse. It is additionally recommended to tie your hair at night with a silk scarf, bonnet or pillowcase.
Knotless braids leverage innovation to reimagine a traditional hairstyle on a healthier note. So, what are you waiting for? Throw those braids into a high ponytail for workouts, style them into a bun or half-updo for a fancy dinner, or accessorise with some flowers and you’re ready to summon your inner bridesmaid. The future is knotless and it’s only a matter of time before the rest follow through.